
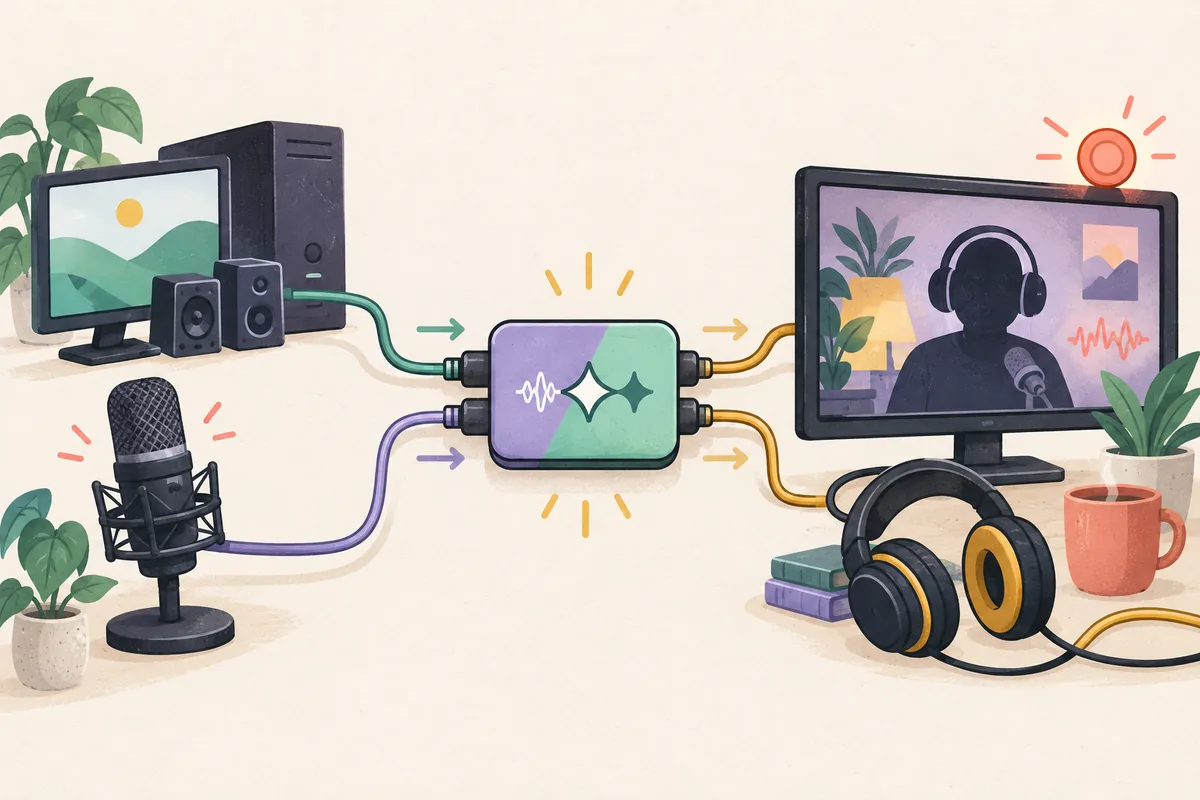
How ASIO4ALL OBS audio routing works
OBS owns the scene, mix, recording, and stream. An ASIO-capable source requests an ASIO input; ASIO4ALL exposes selected Windows WDM endpoints; Windows still owns the physical device. A setting in one layer cannot fix a muted source or an endpoint held by another app.
Use the first test to identify one input, enable one endpoint, add one OBS source, confirm one meter, and record a short file. Avoid enabling every playback device, webcam mic, Bluetooth profile, or virtual cable.
Think of the route as a chain rather than a single device: the physical input enters Windows, ASIO4ALL exposes it to the ASIO source, and OBS places that source in a scene, mixer, and recording track. When a test fails, check the chain from left to right. This keeps you from changing the buffer when the real problem is a disabled endpoint, wrong channel, unavailable device, or duplicate source.
| Layer | What it controls | First check |
|---|---|---|
| OBS Studio | Scene source, mix, recording, and monitoring | Confirm it appears once |
| OBS-ASIO source | ASIO device and channel | Verify the device name |
| ASIO4ALL panel | Enabled WDM endpoints | Enable one known input |
| Windows endpoint | Hardware, format, and ownership | Close competing apps |
| Monitoring path | Where monitored audio goes | Use one destination |
Set up one ASIO input in OBS
Start with the smallest working route. Note the current device and buffer settings. If ASIO4ALL is not installed, follow the site's installation guide, reopen OBS, and use the OBS-ASIO project documentation instead of a repackaged installer.
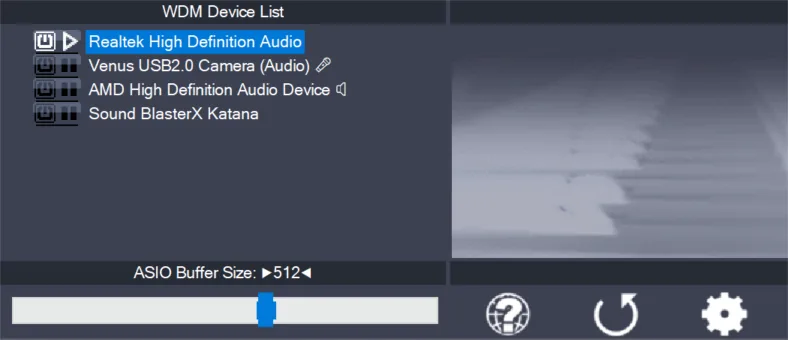
Menu names vary, but the route is stable: add the source, choose ASIO4ALL v2, enable one WDM endpoint, select its channel, and verify the OBS meter. Keep Windows, ASIO4ALL, the source, and OBS sample rates aligned.
- Install or verify the source
Use the OBS-ASIO documentation for a compatible build, then restart OBS.
- Add one ASIO source
Add the ASIO input source. Do not also add the same microphone as Mic/Aux during the first test.
- Open ASIO4ALL
Open source properties, enable the required WDM input, and leave unrelated endpoints off.
- Choose the channel
Select the channel for the physical input; interfaces may expose several channels.
- Record a short test
Record ten seconds, then listen to the file. Confirm one clean meter and one copy before adding monitoring.
Use OBS's audio-source documentation for the general model and the OBS-ASIO project for the plugin reference. Compatibility varies by build and OBS release.
Capture and monitor without echo
Use one intentional capture path. If ASIO carries the microphone, remove it from Mic/Aux or mute the duplicate. Keep desktop audio separate and check that it is not already in the capture path.
Monitoring is another route. OBS may send audio to headphones while Windows or hardware also returns it. Use headphones, choose one monitoring destination, and verify a short file instead of trusting the meter.
Before adding desktop capture or a second microphone, save the clean baseline. Name the source clearly, confirm the recording track, and make a ten-second file with monitoring off or deliberately selected. Then change one route at a time. If the echo returns, compare the new source with the baseline instead of guessing from the mixer.
| Goal | Recommended first path | Common mistake |
|---|---|---|
| Record a microphone | One ASIO source and one input | The microphone remains in Mic/Aux |
| Stream a line input | One line endpoint and channel | The wrong channel is selected |
| Hear yourself while recording | OBS monitoring to headphones | Direct and OBS monitoring both play |
| Add desktop sound | A separate desktop source | Loopback includes the microphone |
| Protect the stream | Test a local recording first | A moving meter is treated as proof |
Fix silent, distorted, or doubled audio
If the ASIO source is missing, restart OBS and confirm plugin compatibility. If no endpoint appears, close DAWs, browsers, meetings, media players, and control panels that may own the device. Reopen ASIO4ALL and start with one input.
For a silent meter, check endpoint power, Windows permission, channel, mute, and input gain. For a silent file, check the OBS track and playback file. For crackles, match sample rates and raise the buffer one step.
For doubled audio, mute every copy except ASIO and add sources back one at a time. For delay, inspect OBS, hardware, and Windows monitoring. Disable unrelated HDMI, Bluetooth, webcam, and virtual endpoints while testing.
After each correction, repeat the same signal test. A device may appear when another application closes, while a new sample rate can make a different endpoint unavailable. Keep notes about the endpoint name, channel, sample rate, buffer, scene, and track. Those notes make it easier to restore the last known-good route after a plugin update or Windows audio change.
- No ASIO source: restart OBS and verify plugin registration.
- No endpoint: close other audio apps and inspect the WDM child device.
- No meter: check permission, gain, mute, channel, and cabling.
- Meter but silent file: check the recording track and playback file.
- Crackles: match sample rates, raise the buffer, and test one endpoint.
- Echo: mute duplicate Mic/Aux, loopback, direct-monitor, or OBS paths.
- Wrong input: disable unrelated endpoints while identifying the route.
Latency, sample rate, and device ownership
ASIO4ALL can expose WDM to an ASIO source but does not guarantee lower latency than a manufacturer driver. Start around 256 samples; try 128 only after a clean test, and raise the buffer when load causes clicks.
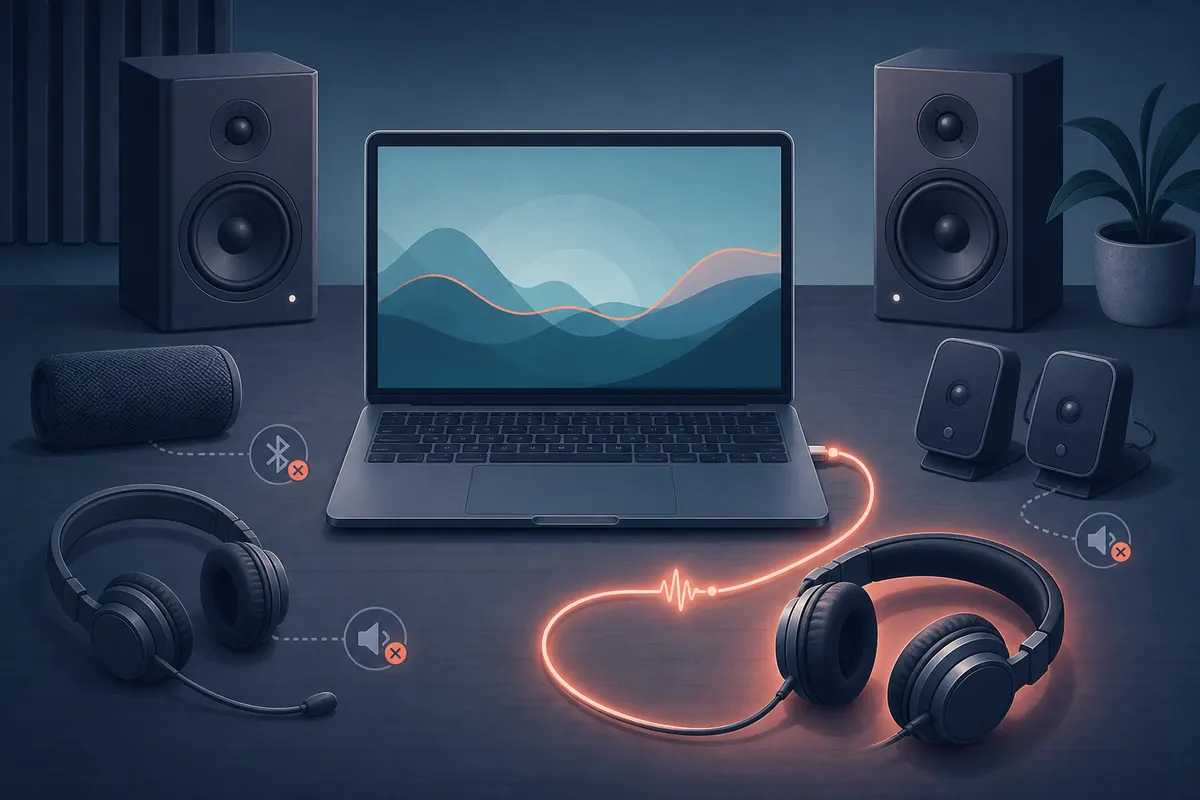
A sample-rate mismatch can make an endpoint unavailable or sound wrong. Align Windows, ASIO4ALL, OBS, and the source where possible. Test with wired headphones and one device; Bluetooth adds delay and profile changes.
| Situation | Starting point | What the result tells you |
|---|---|---|
| First OBS voice test | One input, 256 samples, matching rate | Separates routing from performance |
| Clean voice but noticeable delay | Try 128 only after stability | Lower buffering does not remove monitoring or plugin delay |
| Crackles under stream load | Return to 256 or 512; remove extra endpoints | The route needs more headroom |
| Two devices must be combined | Test each device alone first | Independent clocks can destabilize the combined path |
| Ordinary desktop playback | Use OBS's normal Windows capture | A bridge is unnecessary for ordinary playback |
OBS plus ASIO4ALL verification checklist
The setup is ready when you can name the physical input, ASIO4ALL endpoint, OBS source, recording track, and monitoring destination. Save a short test file before going live; it reveals duplicate sources, wrong channels, silent tracks, and delayed monitoring.
Keep the baseline small. Add desktop audio, another input, a virtual cable, or a lower buffer only after the single-input recording is clean. If a change breaks the route, return to the baseline and change one layer at a time.
- OBS was restarted after the ASIO source was installed or updated.
- Only the intended ASIO4ALL WDM input is enabled for the first test.
- The OBS source, channel, sample rate, and recording track are identified.
- The same microphone is not active through both ASIO and Mic/Aux.
- A ten-second local recording contains the expected clean signal.
- Monitoring uses one deliberate destination and does not create an echo.
- The buffer is stable under the real stream or recording workload.
- Unrelated HDMI, Bluetooth, webcam, and virtual endpoints are disabled while diagnosing.
ASIO4ALL with OBS FAQ
Can OBS use ASIO4ALL directly?
Not as a built-in OBS device. Install a compatible OBS-ASIO source, choose ASIO4ALL v2, enable one WDM endpoint, and test a short recording.
How do I select ASIO4ALL in OBS?
Add an ASIO source, choose ASIO4ALL v2, open its panel, enable one endpoint and matching channel, then test a short recording.
Why does my ASIO4ALL input not appear in OBS?
Restart OBS, confirm plugin compatibility, close apps that own the device, and check that the WDM endpoint is enabled at the selected rate.
Why does OBS show a meter but record silence?
Check mute state, recording track, active scene, and playback file; a moving meter does not prove the signal was recorded.
How do I stop an echo when using ASIO4ALL with OBS?
Use one microphone path. Mute duplicate Mic/Aux, loopback, direct monitoring, or OBS monitoring, and test with headphones.
Does ASIO4ALL reduce OBS latency?
No. ASIO4ALL is a compatibility layer; buffer, USB, plugins, monitoring, and hardware also determine delay. Lower the buffer only after clean tests.
Can I capture a microphone and desktop audio together?
Yes. Test separately, then combine one ASIO microphone source with one desktop source; avoid a loopback that includes the microphone.