
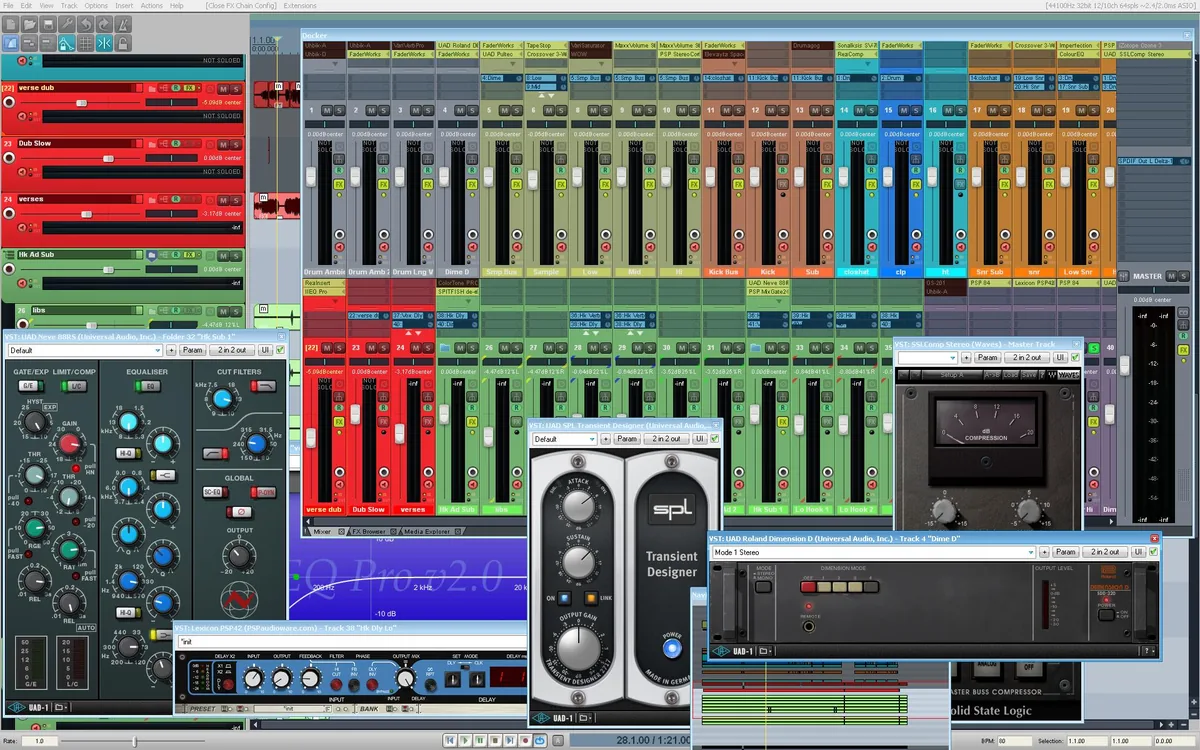
When ASIO4ALL makes sense in REAPER
Prefer the hardware maker’s native ASIO driver for a dedicated audio interface. Use ASIO4ALL mainly for built-in audio, consumer USB devices, or WDM endpoints that REAPER cannot otherwise expose with practical latency.
ASIO4ALL is a bridge, not an audio enhancer. A stable native driver normally gives better hardware controls and direct monitoring. Do not aggregate unrelated devices unless one-device routing cannot meet the session goal.
| Driver choice | Best fit | Decision |
|---|---|---|
| Manufacturer ASIO | Dedicated audio interface | Use first when available |
| ASIO4ALL v2 | Built-in audio or WDM-only device | Use when native ASIO is missing |
| WASAPI | Shared desktop playback | Consider when other apps must keep playing |
Install and select ASIO4ALL v2 in REAPER
Close REAPER before installation, use the official ASIO4ALL 2.22 executable, then reopen REAPER. Go to Options → Preferences → Audio → Device. Set Audio system to ASIO and ASIO Driver to ASIO4ALL v2.
Click ASIO Configuration to open the panel. Start with only the speakers or headphones you will hear and the microphone or line input you will record. The official installer returned HTTP 200 with an application/x-msdownload MIME type and a 557,232-byte size when checked on July 29, 2026.
- Install with REAPER closed
Download the verified official 2.22 executable and finish setup.
- Open Audio Device preferences
Use Options → Preferences → Audio → Device.
- Select the driver
Choose ASIO, then ASIO4ALL v2.
- Open ASIO Configuration
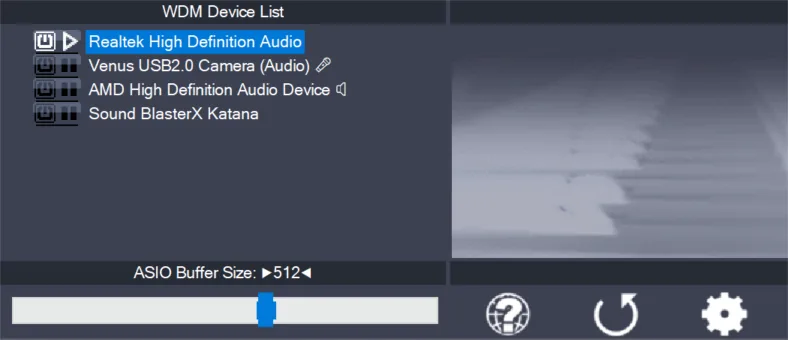
Enable only the input and output needed for the test.
Official reference: ASIO4ALL instruction manual.
Enable inputs, outputs, and track monitoring
In REAPER, enable inputs and choose the first and last input that contain the microphone or instrument. Do the same for the output range. Insert a track, choose the correct mono or stereo input, arm the track, and enable monitoring only when needed.
The meters must move and the monitored signal must reach the selected output. Record a ten-second clip and play it back. This catches cases where monitoring works but the recorded source, channel, or input range is wrong. If MIDI notes move but no audio is heard, load a virtual instrument or verify the hardware audio return.
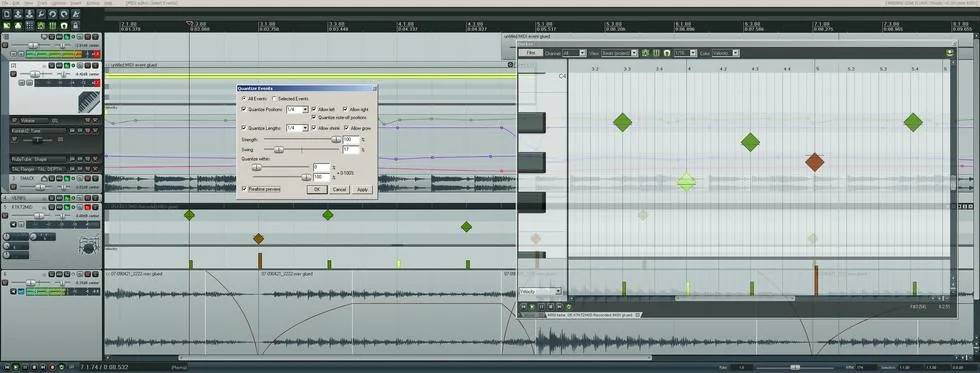
REAPER visuals come from the official REAPER screenshot gallery.
Choose buffer size and sample rate
Start at 256 samples. Try 128 for live playing if the system remains clean; move to 512 or 1024 for mixing or when projects crackle. Lower is not automatically better because underruns create clicks and dropouts.
Use the same sample rate in Windows, REAPER, and the device when possible. A 44.1 kHz or 48 kHz session is a sensible starting point. Change one setting at a time and repeat the same short playback and recording test.
| Buffer | Good starting use | Trade-off |
|---|---|---|
| 128 samples | Live playing on a stable system | Low latency, higher underrun risk |
| 256 samples | Best diagnostic starting point | Balanced latency and stability |
| 512–1024 samples | Mixing or heavy projects | More stable, more monitoring delay |
Fix no sound, missing inputs, or crackling
For no sound, close browsers, games, chat apps, and other DAWs, then reopen REAPER. In the ASIO4ALL panel, disable HDMI, Bluetooth, and disconnected endpoints; enable only the intended input and output.
A red or unavailable device icon usually means another application owns the endpoint, the endpoint is disabled, or its format conflicts. If REAPER cannot see an input, verify Enable inputs and the selected first/last range. If audio crackles, raise the buffer before enabling advanced options. When a desktop app becomes silent, treat it as a shared-device conflict rather than a failed install.
| Problem | Likely cause | First fix |
|---|---|---|
| No playback | Wrong output or endpoint is busy | Enable one output and close competing apps |
| No recording input | Input range or track source is wrong | Enable inputs and select the correct mono/stereo source |
| Crackling | Buffer too low or device contention | Raise the buffer and disable unused endpoints |
| MIDI but no sound | No instrument or audio return | Load an instrument and verify routing |
Verification checklist
Keep the project and device unchanged while testing so each adjustment has a clear result.
- REAPER shows ASIO4ALL v2 as the active driver.
- One intended input and one intended output are enabled.
- A short recorded file plays back without missing channels or crackling.
- The official ASIO4ALL 2.22 source was checked on July 29, 2026.
ASIO4ALL and REAPER FAQ
Do I need ASIO4ALL for REAPER?
Only when the device lacks a suitable native ASIO driver. Use the manufacturer driver first for a dedicated audio interface.
Where do I select ASIO4ALL in REAPER?
Open Options → Preferences → Audio → Device, choose ASIO, then select ASIO4ALL v2.
What buffer size should I use?
Start at 256 samples. Test 128 for live input and 512–1024 for heavier sessions.
Why is there no sound?
The wrong endpoint may be enabled, another app may own it, or REAPER may have the wrong output range.
Is ASIO4ALL 2.22 still current?
Yes. The official release page and 557,232-byte installer were verified on July 29, 2026.
Get ASIO4ALL 2.22, then return to this guide for setup.
The official download opens after a 15-second source check.